Online HTML editor: write HTML, CSS and JavaScript and see it live
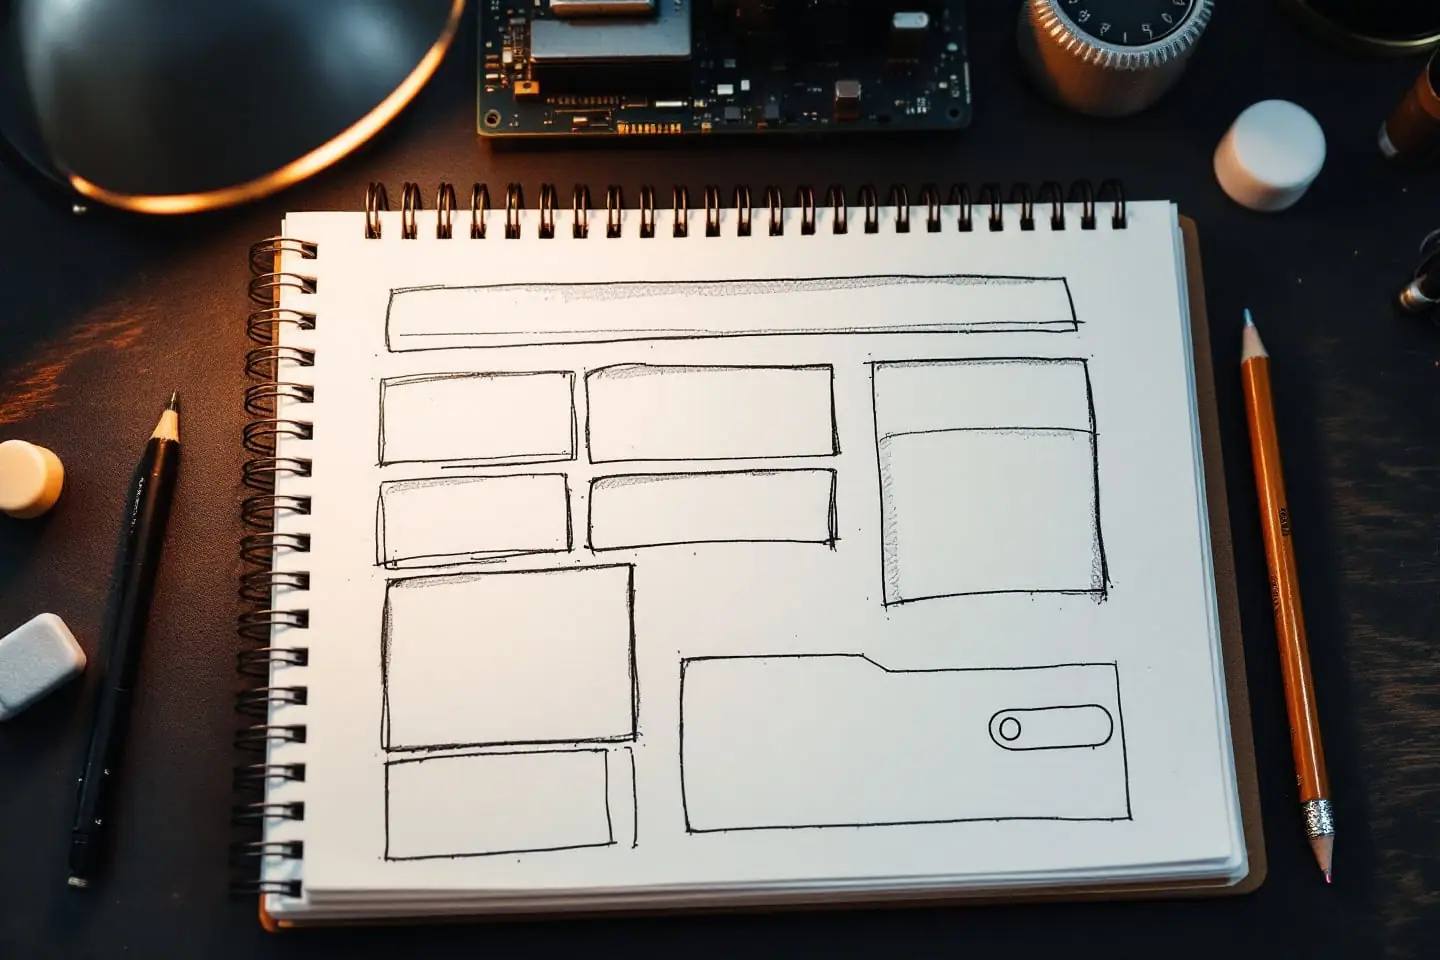
The editor above is a scratchpad for web pages. Type HTML in the editing pane, put CSS inside a <style> element and JavaScript inside a <script> element, and the preview frame shows the result the way a browser draws it. There is nothing to install and no account to make.
Everything happens inside your own browser. What you type is not sent to us and is not stored anywhere, so when you close the tab it is gone, unless you saved it with Download first.
Quick start
Select everything in the editing pane, delete it, and paste this in:
<!DOCTYPE html>
<html lang="en">
<head>
  <meta charset="utf-8">
  <title>My test page</title>
  <style>
    body {
      font-family: system-ui, sans-serif;
      max-width: 36rem;
      margin: 2rem auto;
      padding: 0 1rem;
      color: #222;
    }
    h1 {
      color: #b00000;
    }
    .big-button {
      background: #1a2bc4;
      color: #fff;
      border: 0;
      border-radius: 6px;
      padding: 0.6rem 1.2rem;
      font-size: 1rem;
      cursor: pointer;
    }
    .big-button:hover {
      background: #0f1a80;
    }
  </style>
</head>
<body>
  <h1>Hello from the editor</h1>
  <p id="note">This line changes when you press the button.</p>
  <button class="big-button" type="button" id="go">Press me</button>

  <script>
    document.getElementById('go').addEventListener('click', function () {
      document.getElementById('note').textContent = 'Scripts run in the preview too.';
    });
  </script>
</body>
</html>
You should see a dark red heading, a short paragraph and a blue button that darkens when the pointer is over it. Press the button and the paragraph text changes. Now edit #b00000 to teal and watch the heading follow as you type.
Three ideas are packed into that snippet. The class="big-button" attribute ties the button to its CSS rule (the style tag and class attribute lesson explains the pairing). The :hover rule changes the color under the pointer (the hover lesson). The script waits for a click and then rewrites the paragraph, the pattern covered in handling events.
Tips while you work
- The preview redraws as you type. A half-finished tag can make the page look broken for a moment; it settles once you close the tag.
- Reset puts the starter page back. It replaces what you typed, so download anything you want to keep before you press it.
- Download saves your work as an .html file. Double-click the file to open it in any browser, or open it in a text editor to keep working offline.
- The usual editing keys work in the pane: Ctrl+A selects everything, Ctrl+C and Ctrl+V copy and paste, Ctrl+Z undoes. On a Mac, use Cmd instead of Ctrl.
- For
console.log()output, open your browser's developer tools (F12 on most Windows and Linux browsers, Cmd+Option+I on a Mac). Messages from the preview show up in the same console. - The preview frame is sandboxed. Your scripts run, but they cannot reach this page, its cookies or anything else outside the frame.
Limits
The sandbox that keeps your code away from our page also sets a few boundaries:
- Pop-ups and new windows are blocked, so
window.open()and links withtarget="_blank"do nothing. - Forms do not submit to other sites. To try out form fields, read their values with JavaScript when a button is clicked instead.
- There are no files or folders behind the preview. A relative path such as
images/photo.jpgwill not find a picture on your computer. Use a fullhttps://address, or download your page and keep it in a folder next to its images. - Images, fonts or scripts linked by full address are fetched by your browser straight from the site that hosts them, and only if that site allows it. Your page text still stays on your machine.
- Only browser code runs here. PHP, Python or anything else that needs a server will show up as plain text or not at all.
- A script stuck in an endless loop can freeze the preview, and sometimes the whole tab. Download before you try loop experiments.
The preview is one browser's view of your page. Before you put anything online, open the downloaded file in at least two different browsers.
Where to go next
If the quick-start code made sense, the CSS tutorial builds on it one property at a time, starting with the same <style> element. The JavaScript tutorial starts with finding elements on the page, the job getElementById does above, and works toward a small quiz. When you want to see the pieces assembled into a real site, read hand-coding a small website in a weekend. Every lesson includes a Try it suggestion, and this editor is where you do it.

Lukas keeps the web design corner: beginner HTML, CSS and JavaScript lessons with code you can paste and run. He also writes the general tech notes, usually after untangling something that should have been simple.