What a BIOS flashback button does, and which boards have one
A BIOS flash button, which each board maker names differently, lets a motherboard write a BIOS file from a USB stick to its own firmware chip while the system is switched off, and on many boards with no CPU or memory installed at all. ASUS calls it USB BIOS FlashBack, MSI the Flash BIOS Button, Gigabyte Q-Flash Plus and ASRock BIOS Flashback. It exists for two jobs: updating a board whose BIOS is too old for the processor you want to fit, and rescuing a board after a failed update. You find out whether a board has one from its specifications or its manual, which also tell you the file name, the USB port and what the indicator light does. Those three details differ by maker and sometimes by model.
What a BIOS flash button actually does
A normal BIOS update runs on the processor. EZ Flash, M-Flash and Q-Flash are programs inside the BIOS itself, so the board has to start, initialize the CPU and memory, and reach setup before they can write anything. That rules them out in exactly the two situations where you most need an update: a BIOS too old to start the CPU you have, and a BIOS damaged badly enough that the board will not start at all.
The flashback feature sidesteps the CPU. Gigabyte describes Q-Flash Plus as updating the BIOS when the system is off, in the S5 shutdown state; ASRock says its version updates the BIOS without powering on the system, even without a CPU. The board runs on standby power from the power supply, reads a file from one specific USB port, and writes it to the chip. The makers do not publish much about the circuitry behind it. What they do document is the ritual, and it follows from the design: with no menu to pick from, the board looks for one exact file name, on one port, on a simply formatted stick.
The same idea under four names
| Maker and name | File on the stick | Stick format | Power and CPU | Done when |
|---|---|---|---|---|
| ASUS USB BIOS FlashBack | The .CAP file renamed by BIOSRenamer, or the name in the manual |
FAT16 or FAT32, MBR | Shut down with power connected; the FAQ does not say whether a CPU is needed | The light goes out, up to 8 minutes |
| MSI Flash BIOS Button | MSI.ROM |
FAT32 | 24-pin and CPU_PWR1 connected; no CPU or RAM needed | The light goes off |
| Gigabyte Q-Flash Plus | GIGABYTE.bin |
FAT32 or FAT16 | 24-pin and 12 V connected, system in S5; works without a CPU | The QFLED stops flashing, about 2 to 3 minutes |
| ASRock BIOS Flashback | CREATIVE.ROM |
FAT32, MBR | 24-pin connected, PSU switched on, system not powered on; even without a CPU | The LED stops blinking |
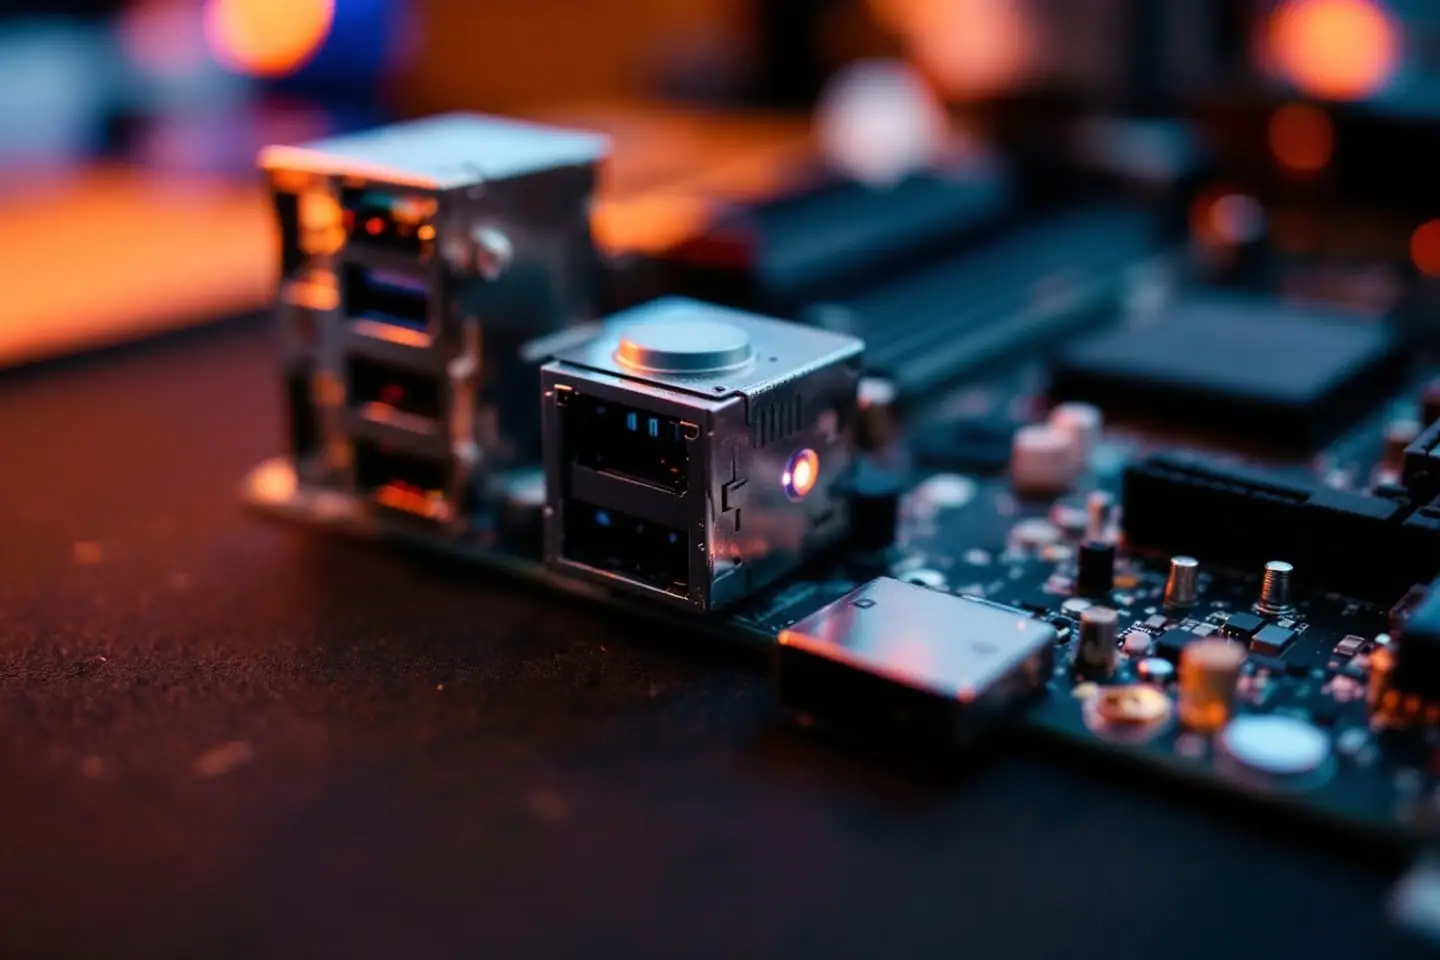
The port is the column missing from that table, because it changes the most. ASUS and ASRock send you to the board's manual for it. MSI's current FAQ says the port is the rear USB port labeled BIOS, while an older MSI answer for one X399 board names the first USB port below the PS/2 port. Gigabyte's X570 manual says the white USB port on the back panel. Read your own manual rather than going by color or position.
Two more differences matter in practice:
- Starting it. ASUS says to hold the button for three seconds until the light blinks three times; ASRock says to press it for about three seconds; MSI and Gigabyte simply say to press it.
- Finishing it. ASRock tells you to switch the power supply off for about two minutes after the flash, then switch it on and start the system. Gigabyte's notes say DualBIOS boards reboot after the main BIOS is written and then update the backup BIOS, but that a run without a CPU updates only the main BIOS and shuts down when it is done.
Some ASRock AMD boards use a different variant, which ASRock calls AMD USB BIOS Flashback. Its guide asks for a USB 2.0
stick of up to 32 GB, two files (BIOSUBU.BIN and the BIOS renamed to PSPBIOS.IMG), and, unlike the others, a CPU,
memory and cooler installed: the system powers on to do the update. A board can carry a flashback button and still have
requirements like that, which is the best argument for reading its manual.
Why it matters for new CPUs on old boards
Board makers add processor support through BIOS updates, and a board may sit in a warehouse long enough to ship with a BIOS that predates the CPU you buy for it. The CPU support list for the board shows the minimum BIOS version for each chip; the CPU support guide explains how to read it.
Without a flashback button, the classic workaround is to borrow an older supported CPU, update from setup, then swap chips. With one, you can update the board on the bench before the new CPU goes in. MSI, Gigabyte and ASRock document their versions working without a CPU at all (ASRock's AMD variant excepted); on an ASUS board, check the manual for that model.
The second job is recovery. If an update from setup fails and the board no longer starts, the flashback button can write a good file without the board ever running its damaged BIOS. The habits that prevent the failure in the first place are in how to flash a BIOS safely.
How to tell whether a board has a BIOS flash button
- Read the specification page. ASUS's FAQ tells owners to check the model's spec sheet or manual for USB BIOS FlashBack. Gigabyte's manuals name Q-Flash Plus among the BIOS tools of boards that support it. MSI says to check its website or look for the button on the board.
- Search the manual. Download the PDF manual for the exact model and search it for the maker's name for the feature. The rear panel page shows the button, the port and the indicator.
- Look at the rear panel. A small button beside a USB port is a good sign, but many boards also have a Clear CMOS button there. Read the labels before pressing anything.
Boards from the LGA 775 years, the kind this site often works on, generally predate these buttons. Their safety nets were other features: ASUS CrashFree BIOS 3, Gigabyte DualBIOS, and the backup options in EZ Flash 2 or Q-Flash. For them the external route is a SPI programmer, covered in reading a BIOS chip with a CH341A programmer.
Limits worth knowing
- It only writes. None of the makers' guides offer a backup of the current BIOS through the button. If you want a copy, take it with the setup tool beforehand, where the board allows it.
- It is fussy about the stick. FAT32 (FAT16 on some), often MBR, and on the ASRock AMD variant USB 2.0 and 32 GB at most. A small plain stick with one partition avoids most trouble.
- The light is all the feedback you get. ASUS documents a light that turns solid after about five seconds when FlashBack is not working; ASRock says a solid green LED means the same, and its AMD guide adds that no light at all calls for switching the power supply off for several minutes. MSI's FAQ documents only the success case.
- Other firmware may still need an update. ASUS notes that on 800-series boards the Intel ME firmware must be updated after a FlashBack run, and that some 400-series boards need ME firmware 14.1.51.1528 or newer before an update for 11th-generation CPUs.
- Security chips can be reset. ASRock warns that the TPM is reset by BIOS Flashback and tells you to suspend BitLocker and anything else that relies on the TPM first.
- It cannot fix hardware. If the board fails to start because of a dead power stage, bad memory or a damaged socket, a fresh BIOS changes nothing.
Each maker's walkthrough covers the details for its own boards: the ASUS EZ Flash and FlashBack guide and the MSI M-Flash and Flash BIOS Button walkthrough. For Gigabyte and ASRock, the manuals and guides in the list below are the documents to keep open while you work.
Sources and further reading
- ASUS, How to use USB BIOS FlashBack?
- MSI, How to Refresh BIOS via Flash BIOS Button?
- MSI FAQ, Which USB port for the Flash BIOS Button
- Gigabyte, Unique Features manual, X570 series (Q-Flash Plus, DualBIOS)
- ASRock, Flashback Feature user guide
- ASRock, AMD USB BIOS Flashback Feature user guide (March 2023)
Adding a CPU to an old BIOS? read the LGA 771 Xeon microcode guide.

Tessa covers BIOS images, microcode and firmware recovery. Her rule for every flash: two backups of the original image, a known recovery path, and nothing else running on that power strip.