MSI M-Flash and the Flash BIOS Button: a careful walkthrough
MSI gives you two ways to flash the BIOS on an MSI motherboard. If the board starts and shows its setup screen, use
M-Flash: copy the extracted BIOS download to a FAT32 stick, press Delete at boot, click M-FLASH, let the board restart
into flash mode, pick the file and wait for it to restart again. If the board will not boot, or has no supported CPU
fitted, use the Flash BIOS Button on models that have one: rename the BIOS file to MSI.ROM, put it on a FAT32 stick
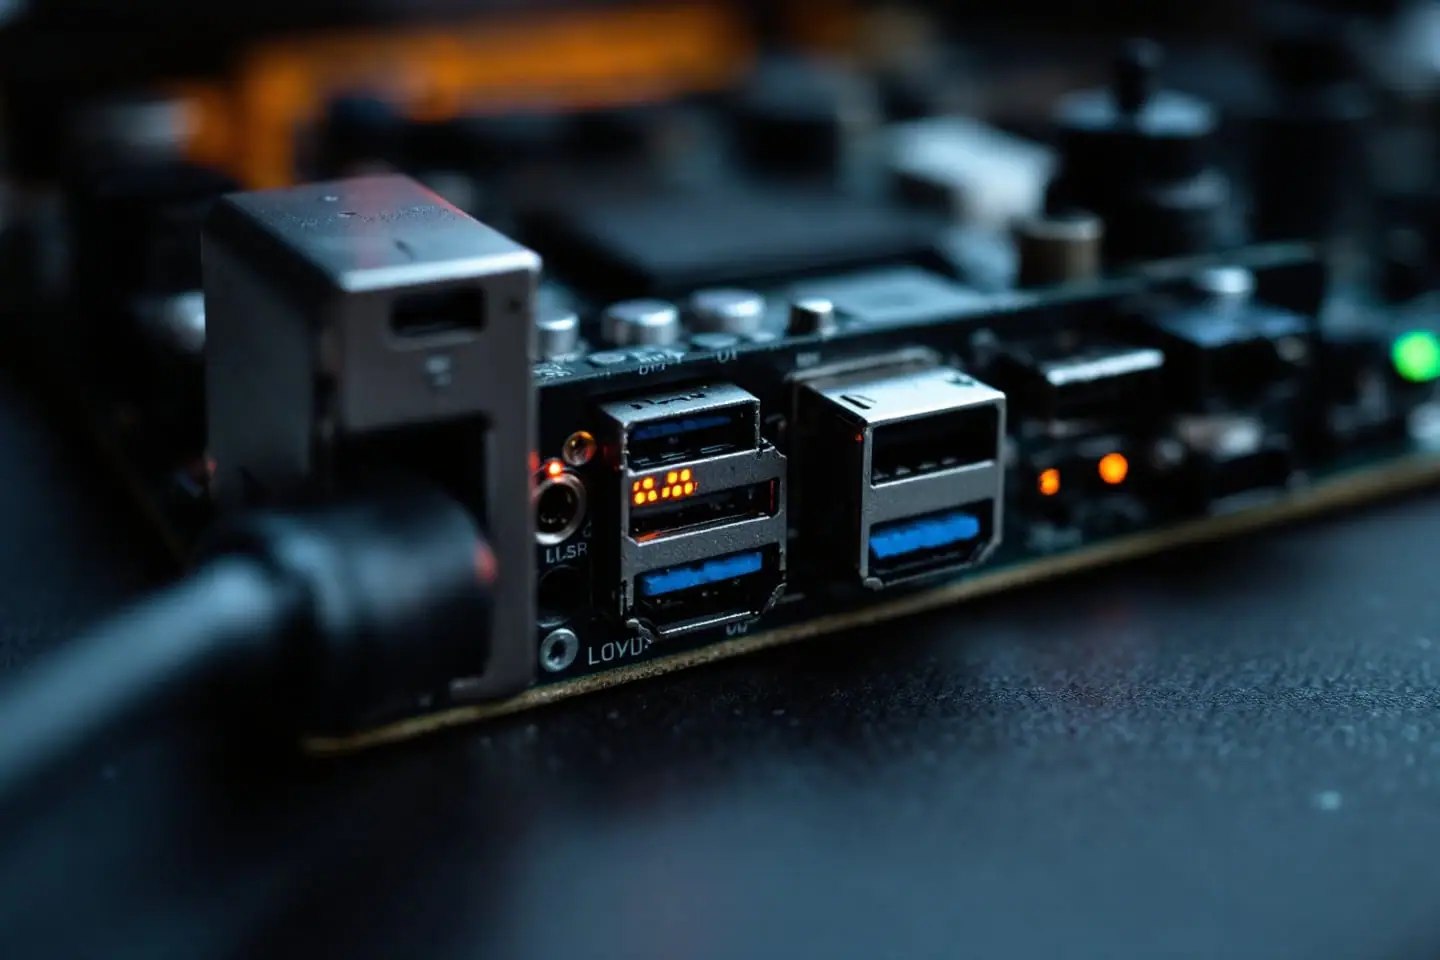
in the rear USB port labeled BIOS, connect the 24-pin and CPU power cables and press the button. The indicator light
flashes while it works and goes off when it is done. The details, and the places where boards differ, follow.
Start with the board's MS number
MSI sells boards under marketing names (MAG, MPG, MEG, PRO), but the board's MS number is what identifies it. MSI's flashing guide says to open the case and look for the MS-XXXX number and the version number printed on the board between the expansion slots, then press Delete at boot and confirm the BIOS version in setup. Download the BIOS that matches both the model and that version. MSI's own guide also carries a blunt warning in capitals: "DON'T FLASH WHEN YOUR SYSTEM IS RUNNING FINE." If nothing in the release notes applies to you, that is good advice. The general reasons to update, such as support for a newer CPU, are covered in how to flash a BIOS safely and in the CPU support guide.
| Situation | MSI method | What you need |
|---|---|---|
| Board boots to setup | M-Flash | FAT32 stick with the extracted download |
| No CPU, or the board will not boot | Flash BIOS Button, on models that have it | FAT32 stick with the file renamed MSI.ROM |
| Older UEFI board, setup unreachable | Flash from a bootable USB stick in DOS mode | The commands in MSI's guide for your board |
| Multi-BIOS board with one bad chip | M-Flash run from the working chip | The Multi-BIOS switch and a FAT16 or FAT32 stick |
Prepare the USB stick
MSI's current FAQ uses the same preparation for both tools, with one difference at the end:
- Format the stick as FAT32 (right-click it in Windows, choose Format, select FAT32, click Start). That erases it.
- Find your board on MSI's website and download the BIOS. For the button, MSI says to take the latest version for your model.
- Right-click the download, choose Extract All, then Extract.
- For M-Flash, copy the extracted folder to the root of the stick. MSI adds: do not place the files in any subfolders, to avoid reading issues.
- For the Flash BIOS Button, rename the extracted BIOS file to
MSI.ROMand copy it to the stick.
Turn on file name extensions in File Explorer before you rename, so you can see the whole name and are sure the file
ends in .ROM and nothing else.
How to flash BIOS on an MSI motherboard with M-Flash
From MSI's FAQ and its PDF guide to M-Flash:
- Plug the stick into the board and start the PC. Press Delete repeatedly during the boot screen to enter setup.
- Click M-FLASH. The PDF notes the button is in both EZ Mode and Advanced Mode.
- A message says the system will reboot into flash mode. Click Yes.
- Select the stick, open the BIOS folder and choose the BIOS file, then press Enter. The bottom of the screen shows the current BIOS version and the selected one, a good moment to check you have the right file.
- Confirm with Yes. MSI's PDF says to press No if you notice the file is not correct.
- Wait. The keyboard and mouse are locked while it writes. Do not turn off the PC, disconnect the power or remove the stick.
- The PC restarts by itself when the update is finished. Press Delete again and check the version in setup.
If M-Flash does not list your file, MSI's PDF says to double-check that the downloaded BIOS is the correct one. That is usually the sign of a file for a different board.
M-Flash on older Click BIOS boards
On earlier MSI UEFI boards the menu path is different. MSI's older guide puts M-Flash under Utilities in setup, with an option called "Select one file to update BIOS". Some boards add a second option that updates the BIOS and the Intel ME firmware together. In that mode, MSI describes the system rebooting by itself once the BIOS update reaches 50 percent, then carrying on with the ME update. Leave the stick in and the power on through both stages; it then waits about 5 seconds and reboots once more.
DOS mode on older boards
The same older guide also documents flashing an AMI UEFI BIOS from a bootable USB stick in DOS mode, for boards where that is the documented route. MSI shows the command sequence for it as screenshots rather than text, so follow the version that matches your board rather than a command copied from a forum. The DOS command prompt guide covers changing drives and folders. Some LGA 775 era MSI boards run AMIBIOS 8 with M-Flash in setup; the AMI microcode guide covers that generation.
The Flash BIOS Button, step by step
MSI's FAQ describes the Flash BIOS Button as a way to refresh the BIOS without a CPU and RAM, for boards that have BIOS faults or fail to boot. It also says plainly that not every model has one. To check, look at the model's page on MSI's site or for the button itself on the board: MSI's FAQ shows two kinds of physical button.
With the stick prepared as above:
- Connect CPU power to the CPU_PWR1 connector.
- Connect the 24-pin power connector.
- Insert the stick with
MSI.ROMinto the USB port labeled BIOS on the rear panel. - Press the Flash BIOS Button. The indicator light flashes frequently while the refresh runs.
- When the light goes off, the refresh has succeeded.
Do not power off or shut down while the light is flashing. MSI's FAQ gives no fixed duration, so wait for the light rather than a clock.
The port is the detail most likely to differ between boards. MSI's current FAQ says the port is labeled BIOS on the rear panel, but an older MSI answer for the X399 GAMING PRO CARBON AC says to use the first USB port below the PS/2 port. Your manual's rear panel diagram settles it.
What MSI does not document in that FAQ is a failure pattern for the light. If it does not start flashing, or stops at
once, go back over the basics: FAT32, the exact name MSI.ROM in the root of the stick, the right port, both power
cables. A small, plain stick with a single partition removes one more variable.
What MSI documents about recovery
MSI's support pages offer three layers:
- The Flash BIOS Button itself. MSI presents it as the fix for a board that fails to boot because of BIOS faults, so it doubles as recovery on boards that have it.
- Multi-BIOS. On boards with two BIOS chips and a switch (MSI's FAQ lists Z97 boards such as the Z97 MPOWER and Z97 GAMING 7), set the switch to the working chip and boot, start M-Flash with "Select one file to update BIOS and ME" and choose the file. The system restarts after 5 seconds; when the message appears, set the switch to the chip you want to recover, press any key, and leave the stick in until the board restarts.
- MSI service. MSI's PDF suggests contacting its service and support team if you have questions while updating, to avoid damage from improper use.
Outside MSI's documentation, an 8-pin SPI BIOS chip can be rewritten with an external programmer. The CH341A guide covers the voltage check and the read-twice habit that make it safe. For how ASUS handles the same jobs, with its FlashBack button and BIOSRenamer tool, see ASUS EZ Flash and USB BIOS FlashBack.
After the flash
Press Delete at the next boot and confirm the version in setup, as MSI's guides end. Then load the defaults, put back the settings you changed (boot mode, SATA mode, memory profile) and boot the operating system before you fit new hardware or try a new CPU. If a Flash BIOS Button run was done without a CPU, this first boot with the CPU fitted is the real test, so do it with the minimum of parts connected.
Sources and further reading
- MSI, How to Refresh BIOS via Flash BIOS Button? (May 2024)
- MSI, How to update BIOS? (M-Flash, October 2024)
- MSI, How to update BIOS? (PDF) (M-Flash screens and notes)
- MSI, How to flash the BIOS (MS number, DOS mode, older M-Flash with ME update)
- MSI FAQ, Which USB port for the Flash BIOS Button (X399 GAMING PRO CARBON AC)
- MSI FAQ, How to use M-FLASH to recover my failed BIOS? (Multi-BIOS boards)
Adding a CPU to an old BIOS? read the LGA 771 Xeon microcode guide.

Tessa covers BIOS images, microcode and firmware recovery. Her rule for every flash: two backups of the original image, a known recovery path, and nothing else running on that power strip.