Replacing a CMOS battery, and what a dead one does to an old PC
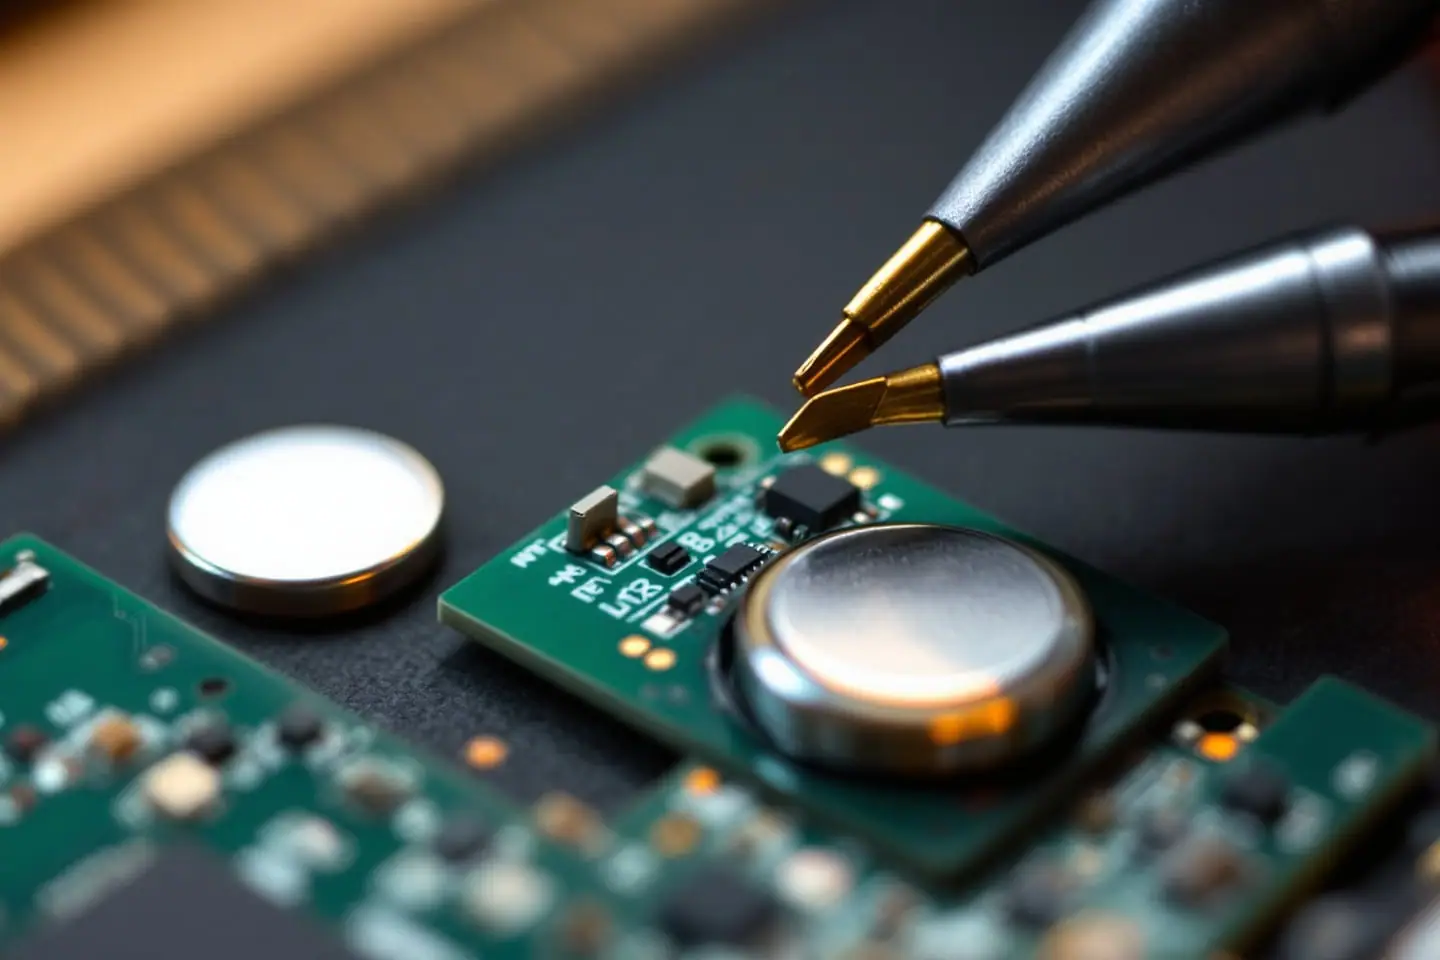
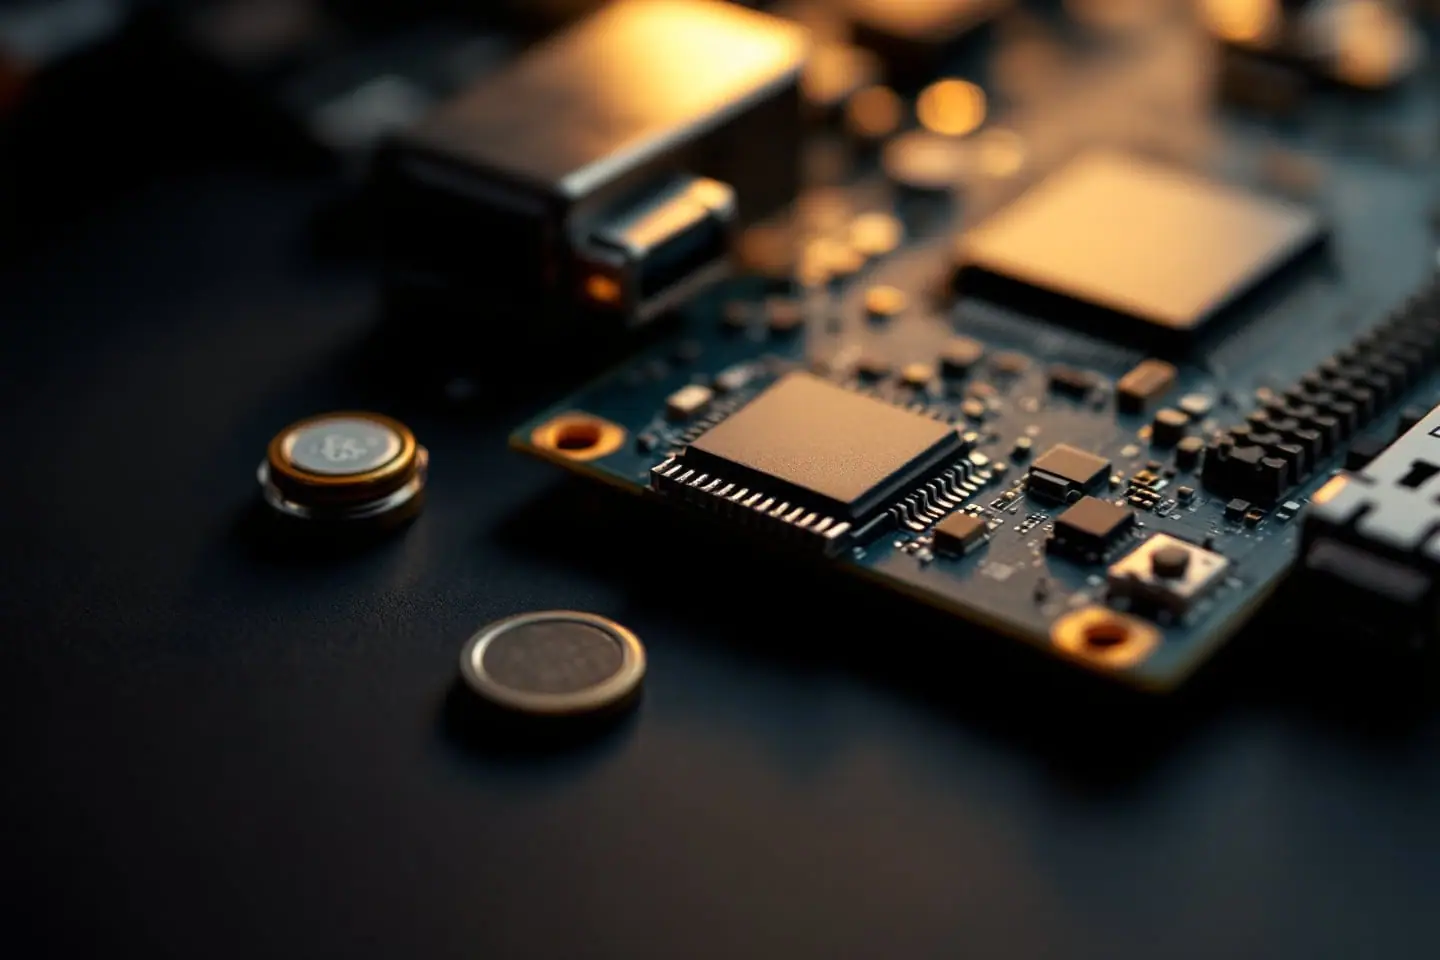
Every PC of the last few decades keeps a small amount of memory and a clock running while it is switched off. On most desktop boards a CR2032 lithium coin cell powers both. When that cell runs down, the machine still works, but it forgets things: the time, the date and every setting you made in the BIOS. On an old PC that has sat in a closet, a flat coin cell is often the first fault you meet, and one of the easiest to fix.
What a dead battery looks like
The symptoms come from two places: the real-time clock that keeps time, and the small settings memory people still call CMOS. Here is how they show up, with the wording the BIOS makers use.
| What you see | What it means |
|---|---|
| Clock and date wrong after every cold start, or running slow | The real-time clock lost power or ran on too little. Dell lists wrong or slow BIOS time and a time-of-day clock stopped error. |
CMOS checksum error - Defaults loaded |
Phoenix's AwardBIOS documentation: the stored settings failed their checksum, so the board loaded defaults, and a weak battery may be the cause. |
CMOS battery failed |
The same document: the battery is no longer functional. |
| Settings you changed are back to default | Dell: BIOS settings reset when the computer is powered off. |
Boot stops at a Press F1 prompt |
The error above, on a board set to wait for F1 when an error occurs. The ASUS P5Q WS manual, for one, shows Wait for F1 If Error enabled by default. |
| Windows or Linux fails to start after a power cut | Defaults changed something the OS depends on, most often the SATA mode. |
That last row catches people out. If the operating system was installed with the SATA controller in AHCI mode and the defaults put it back in IDE mode, or the other way round, a perfectly healthy machine fails to boot. The SATA SSD upgrade guide explains why.
Why it can take months to notice
An ATX power supply keeps a 5 V standby rail alive whenever it is plugged in and switched on at the back. Wikipedia's article on BIOS memory notes that this standby power keeps the CMOS energized while the PC is off, so the coin cell only does real work when the machine is unplugged. That is why a weak cell often shows up only after the PC lived on a switched power strip, sat in storage or moved house. The same article gives the coin cell an estimated life of about three years with the supply unplugged or off; Dell's article says two to three years depending on use and environment. A machine that stays plugged in can go much longer.
Test the old cell first
A two-minute measurement tells you whether the battery is really the problem.
Energizer's CR2032 datasheet gives the numbers that matter: lithium manganese dioxide chemistry, a nominal 3.0 V, and a typical capacity of 235 mAh measured down to a 2.0 V end point. Its discharge curve stays close to 3 V for most of the cell's life and then falls away steeply near the end. So a cell that reads clearly below 3 V is on the steep part of the curve, and it is cheap enough to replace on suspicion. There is no single cutoff that every board uses.
- Set the multimeter to DC volts, on the 20 V range if it is not autoranging.
- Touch the red probe to the flat face of the cell, marked +, and the black probe to the smaller raised face.
- Read the number. Measuring in the holder works too, with the PC unplugged: red on the clip that touches the top face, black on the opposite contact.
Buy coin cells in a small pack from a seller you trust and check the date code on the packet, since a cell that sat in a warehouse for years has less to give.
Swapping a socketed CR2032
Board makers agree on most of the procedure. Gigabyte's GA-EP45-DS5 manual and Dell's support article are the two references here.
- Photograph every BIOS page you changed from default, if the machine still boots. You will need it in a moment.
- Shut down, unplug at the wall and press and hold the power button for 10 to 15 seconds.
- Ground yourself. Our anti-static basics cover what actually protects the board.
- Find the cell. On most ATX boards it sits flat in a round holder near the PCIe slots; on some it stands upright in a vertical clip.
- Press the holder's latch tab sideways, or lift the edge of the cell with a plastic pry tool, and the cell pops up. Dell asks you to support the connector firmly while you remove the battery, so you do not bend the holder.
- Fit the replacement with the positive side (the flat face with the markings) facing up, as Gigabyte's manual says, and press until it clicks under the latch. Dell adds that it should be a fresh cell of the exact same type.
- Plug in, power on and go straight into setup.
Leaving the cell out for a minute clears the stored settings, which is also how Gigabyte describes clearing CMOS on boards without a jumper. Expect a checksum message on the first boot after the swap. That one is normal.
Putting the settings back
Work through setup in this order, comparing with your photographs:
- Date and time, on the main page (AMI) or Standard CMOS Features (Award).
- SATA mode: IDE, AHCI or RAID, whichever the operating system was installed with.
- Boot order, so the system drive comes first.
- Anything you set by hand: memory speed, fan control, virtualization, power-on behavior after a power cut.
- Then load nothing else, save with F10 and boot once to confirm.
If the board was clearing itself before because of a bad battery, it may also have been running on defaults for a while. A CMOS clear with the jumper, then a fresh pass through these settings, gives you a known starting point. Page 4 of the LGA 771 to 775 guide shows where clear-CMOS jumpers usually live.
If the clock still resets with a fresh cell that measures well, look at the holder. Bent or corroded contacts, or a cell that sits loose, give the same symptoms as a dead battery.
Boards that do not use a plain holder
Laptops and small desktops with a wired cell
Many laptops and compact office PCs use a coin cell sealed in a plastic sleeve with two thin wires and a small plug on the board. Unplug the lead by its connector, not by the wires, and buy a replacement with the same connector and polarity. On laptops the cell is often under the keyboard or the main board, so read the maker's service manual before you start. Dell points laptop owners to a separate article for exactly this reason.
Cells soldered to the board
Some boards have a coin cell with metal tabs soldered straight to the board instead of a holder. Desolder it, then fit a cell that already has solder tabs welded on, or a proper holder if the holes allow one. Do not hold a soldering iron against a bare lithium cell.
Barrel batteries on 1990s boards
Before coin cells took over, many boards used a rechargeable nickel cadmium barrel battery soldered to the board. Wikipedia's article warns that these can leak badly after the machine sits unused, and the leak damages the traces and parts around it. On a board from that era, remove a barrel battery as soon as you find it, even if it still looks clean. Some of those boards also have a header for an external 3.6 V battery, which is the tidy way to give them a clock again. Our notes on running retro Windows on old hardware assume you have dealt with this first.
Clock chips with the battery inside
Some boards of the same period use a Dallas real-time clock module, recognizable by its black battery cap, with the cell sealed into the chip itself. When that cell is flat, the module as a whole is the part to replace.
Disposal, and keeping cells away from children
The old cell is not household trash. The EPA asks that button and coin cells stay out of the trash and out of curbside recycling bins, and go instead to a battery recycler, a retailer with a battery take-back program or a household hazardous waste collection. Before you drop it off, put non-conductive tape such as electrical tape over the terminals, or bag each cell separately. The EPA warns that a lithium battery may spark and cause fires if damaged or if its terminals touch. Gigabyte's manual says the same thing in one line: handle used batteries according to local environmental regulations.
The bigger hazard is a child. A 20 mm lithium coin cell is the right size to swallow, and Energizer's datasheet warns that swallowing one may lead to serious injury or death in as little as two hours, from chemical burns. If you think a child has swallowed a coin cell, go to an emergency room right away and call the National Battery Ingestion Hotline at 800-498-8666. The National Capital Poison Center, which runs that line, says not to induce vomiting and not to eat or drink until an x-ray shows where the battery is. Treat the spares from a multipack as the risky ones: put them back in their packaging and out of reach before you close the case.
Quick answers
Can I use a CR2016 or CR2025 instead?
Both are 20 mm cells, but thinner, so they may sit loose in a holder made for the 3.2 mm CR2032, and they hold less charge. Wikipedia puts a CR2016's life at roughly 40 percent less than a CR2032's. Gigabyte's manual asks for an equivalent battery, and Dell for the exact same type. Use a CR2032.
Does a dead battery stop a PC from booting?
Usually not by itself. The board loads defaults and carries on, perhaps after waiting for F1. It stops a boot when the defaults change something the operating system needs, such as the SATA mode, or when you are flashing firmware and the board loses its settings partway through a job. That is one more reason to replace a weak cell before a BIOS update, the routine laid out in how to flash a BIOS safely.
Sources and further reading
- Energizer, CR2032 product datasheet (chemistry, nominal voltage, capacity to 2.0 V, discharge curve, ingestion warning)
- Dell, How to Replace or Change a CMOS Battery on Your Dell Desktop (symptoms, safety steps, plastic scribe, same battery type)
- Gigabyte, GA-EP45-DS5 user manual (battery orientation, equivalent replacement, clearing CMOS by removing the battery)
- Phoenix Technologies, AwardBIOS Version 4.51PG POST Codes and Error Messages (archived copy; CMOS battery and checksum messages)
- US EPA, Used Household Batteries (button and coin cell disposal, taping terminals)
- National Capital Poison Center, Button battery ingestion (what to do if a battery is swallowed)
- ASUS, P5Q WS user manual (Wait for F1 If Error setting)
- Wikipedia, Nonvolatile BIOS memory and Real-time clock (background on standby power, battery life, barrel batteries and Dallas modules)

Tessa covers BIOS images, microcode and firmware recovery. Her rule for every flash: two backups of the original image, a known recovery path, and nothing else running on that power strip.