ASUS EZ Flash and USB BIOS FlashBack: which to use and how
To flash the BIOS on an ASUS board, use the tool that matches the state the board is in. If it boots into setup, use EZ Flash from the Tool menu: EZ Flash 3 on most UEFI boards, plain EZ Flash on Intel 800-series boards and later, EZ Flash 2 on older ones. If the board will not show a picture, or the CPU you just bought is newer than the BIOS, use USB BIOS FlashBack, if your model has it: a renamed file on a USB stick, a dedicated port and a button, with the system shut down. Older ASUS boards also have CrashFree BIOS 3, which restores a damaged BIOS from a stick by itself. Every step below comes from ASUS's support pages and manuals; where models differ, the manual for your board wins.
Which ASUS tool fits your situation
| Your situation | Tool | File it wants | Where you start it |
|---|---|---|---|
| Board boots, most UEFI models | EZ Flash 3 | The extracted .CAP file |
Setup, Advanced Mode, Tool menu |
| Board boots, Intel 800-series and later | EZ Flash | The ZIP as downloaded, or the .CAP |
Setup, Advanced Mode, Tool menu |
| Board boots, LGA 775 era and early UEFI | EZ Flash 2 | The BIOS file from the download | Alt+F2 at POST or the Tools menu (older boards) |
| No display, or CPU too new for the BIOS | USB BIOS FlashBack | The .CAP, renamed by BIOSRenamer |
FlashBack button, system shut down |
| BIOS damaged by a failed update, on models that have it | CrashFree BIOS 3 | The BIOS file, named as the manual says | Starts by itself at power on |
ASUS's own advice for the plain EZ Flash page is simple: if your board does not support it, use EZ Flash 3 or USB BIOS FlashBack instead. The Windows tools (ASUS Update on older boards, EZ Update in AI Suite 3) exist, but ASUS itself describes EZ Flash 3 as the way to update without entering Windows, where a background program or an unstable system can spoil the write. The general case for flashing from setup is in how to flash a BIOS safely.
Before you start: the file and the stick
Get the exact model name first. "PRIME B550" and "PRIME B550-PLUS" are different boards with different files. Then go to the ASUS Download Center, find that model, open Driver and Utility and choose BIOS and FIRMWARE (on the newest product pages the labels read Driver and Tools, then BIOS and Software). ASUS recommends the latest version. Read the description for any prerequisite before you download.
The stick has to meet ASUS's terms, which are the same across these tools:
- FAT16 or FAT32, single partition. FlashBack adds that it must use the MBR partition style.
- 1 GB or more is recommended.
- To format it in Windows: right-click the drive, choose Format, pick FAT32 and click Start. That erases the stick.
Unzip the download. You will find a .CAP file, which is the BIOS image itself, and on boards that support FlashBack a
small program called BIOSRenamer.
How to flash an ASUS BIOS with EZ Flash 3
This is the everyday route on boards that still boot. From ASUS's EZ Flash 3 FAQ:
- Copy the
.CAPfile to the root of the stick and plug the stick into a USB port on the board. - Start the PC and press Del when the ASUS logo appears.
- Press F7 (or click Advanced Mode), open the Tool page and choose ASUS EZ Flash 3 Utility.
- Select the stick, then the BIOS file, and click Yes.
- Check the BIOS information shown, which should name your board and the version you downloaded, then click Yes to start.
- When the progress bar finishes, click OK. The system reboots to complete the update.
ASUS's warning on that page is the one to remember: do not shut down or reset the system while the BIOS is updating. Some boards also offer an update via the Internet inside EZ Flash 3, according to ASUS's BIOS update manual; the stick method is the one with fewer moving parts. If the system is unstable after the update, ASUS's fix is to enter setup, press F5 and confirm, which restores the defaults.
EZ Flash on Intel 800-series boards
The plain EZ Flash tool, which ASUS says currently supports Intel 800-series and later boards, reads the ZIP directly,
so you skip the unzip step. Press Del or F2 at the logo, F7 for Advanced Mode, then Tool and ASUS EZ Flash, select the
ZIP, click Yes to read it, check the version and click Yes again. You can still give it a .CAP file instead, but
ASUS adds a condition for that: confirm first that the Intel ME version is compatible with the BIOS version.
EZ Flash 2 on older boards
On an LGA 775 board such as the P5Q WS, the manual describes EZ Flash 2 as built into the BIOS chip and reached by pressing Alt+F2 during POST, or from the Tools menu in setup. It reads a floppy or a USB stick with FAT32 or FAT16 and a single partition, finds the file and reboots when done. Its screen has a key for backup, shown as B on the bottom line; use it before the update and copy the result to a second place. That backup is the main advantage the old boards have over current ones, and the AMI microcode guide also uses it.
USB BIOS FlashBack, step by step
FlashBack is for the cases where EZ Flash cannot run. ASUS's FAQ names them: the board will not power on, or the power light is on and nothing appears on screen. It also covers the common upgrade problem, where a newer CPU is on the board's support list only from a later BIOS than the one the board shipped with; the CPU support guide explains those minimum versions.
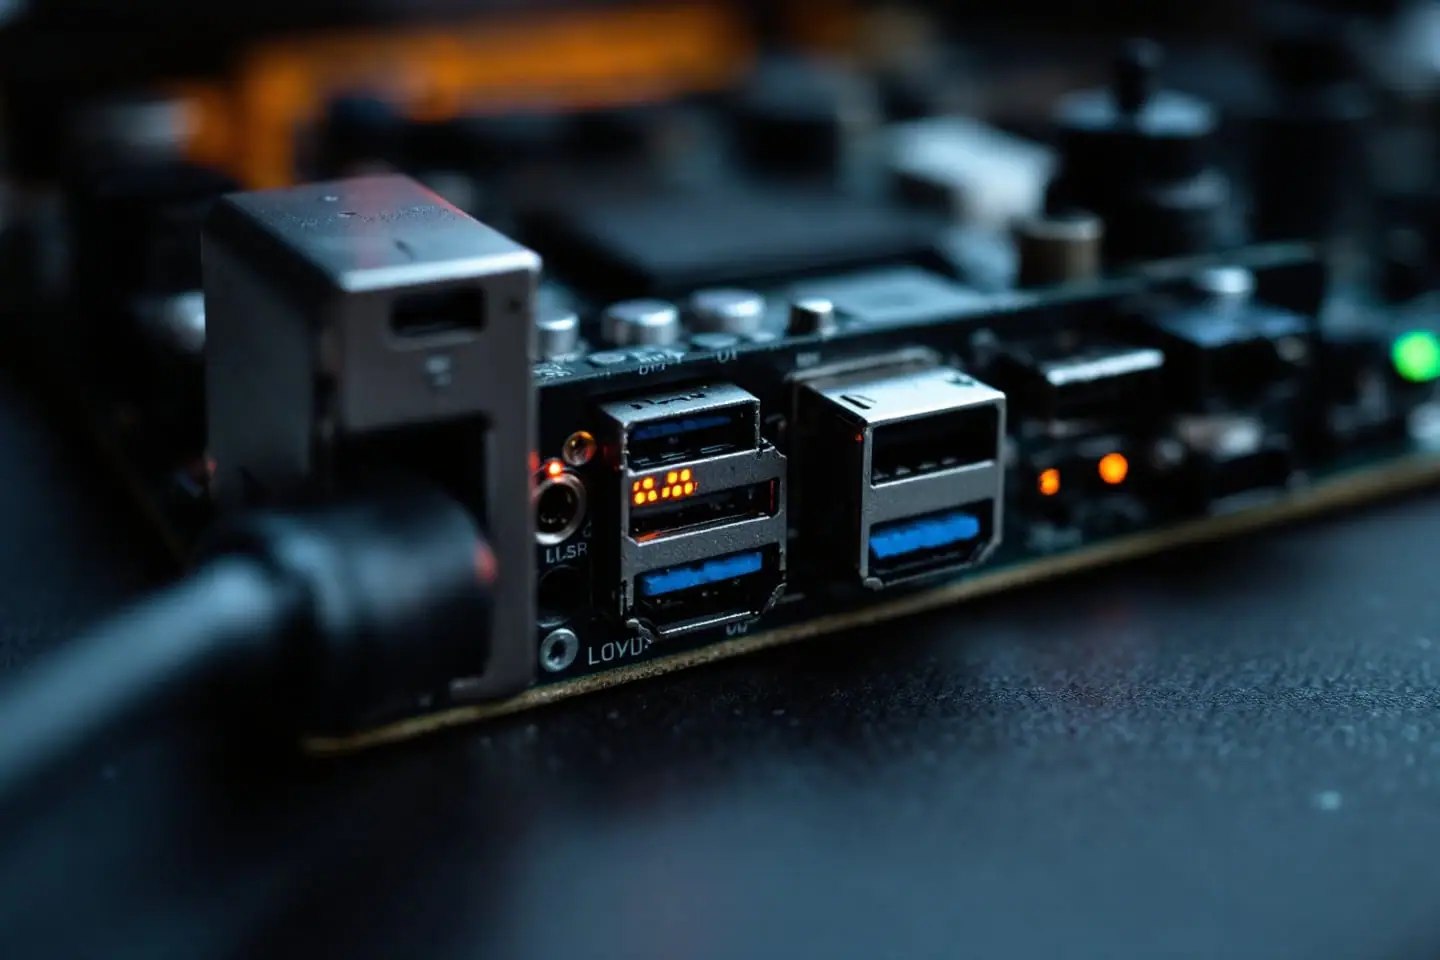
Check first that your model has it. ASUS lists it in the board's specifications and its manual shows where the FlashBack port and button are. Then, following ASUS's FAQ:
- Download the BIOS for your exact model and unzip it on the stick.
- Double-click BIOSRenamer. It renames the
.CAPfile to the name the board looks for. Press any key to close its window when it finishes. - Make sure the renamed
.CAPfile sits in the root of the stick, not in a folder. - Plug the stick into the USB FlashBack port shown in the manual.
- Shut the system down, but leave the power supply plugged in and switched on.
- Press and hold the BIOS FlashBack button for three seconds, until the FlashBack light blinks three times.
- Wait. ASUS says the update can take up to 8 minutes, depending on the file size. It is finished when the light goes out.
If your download has no BIOSRenamer, the board's manual gives the file name to use for FlashBack. Use that exact name; do not guess it from another model.
Reading the FlashBack light
| What the light does | What it means, per ASUS |
|---|---|
| Blinks after you hold the button | The update is running; leave everything alone |
| Goes out | The update is finished |
| Flashes for about five seconds, then stays solid | FlashBack is not working: check the FAT16/32 format and the file name, then repeat |
If it fails again after you have rechecked every step, ASUS's next instruction is to contact a service center. After a successful run, press F2 or Del at the next boot and check that the Main menu shows the version you installed.
Two model notes from ASUS
- On some 400-series boards that will run Intel 11th-generation CPUs, ASUS says the ME firmware must be version 14.1.51.1528 or newer to do the update and use those CPUs. The FAQ lists the affected models.
- On 800-series boards, ASUS notes that the ME firmware must also be updated after a FlashBack update, because FlashBack uses CAP files.
ASUS's FAQ does not say whether a CPU and memory must be installed for FlashBack. Other makers document their versions of the feature as working without a CPU, but for an ASUS board go by its own manual.
CrashFree BIOS 3 on older ASUS boards
CrashFree BIOS 3 is an automatic recovery tool. On the P5Q WS, the manual describes it this way: when the BIOS checksum
is bad, the board reports that it is starting BIOS recovery, searches the support DVD, a floppy or a USB stick for the
BIOS file, and flashes it. The manual's example file is named P5Q-WS.ROM, so the name matters and comes from your
board's manual. Two limits apply: the stick must be FAT32 or FAT16 with a single partition, and smaller than 8 GB.
On UEFI boards that kept the feature, ASUS's BIOS update manual says to rename the BIOS file on the removable device before using it, warns that the file on the support DVD may not be the latest, and has the tool open EZ Flash 3 automatically. Press F5 afterwards to load the default settings. Feed CrashFree an official file or your own backup, never a modified image you are still testing.
When none of it works
A board that ignores FlashBack and CrashFree is still not necessarily dead. Clear the CMOS first, by the jumper or by removing the coin cell for a minute, and retry once. If the BIOS chip is an 8-pin SPI part, a CH341A programmer with a clip can write an official image or your backup straight to it; read reading a BIOS chip with a CH341A programmer before you clip anything, because the voltage check comes first.
Do not write a .CAP file to the chip blindly, though. ASUS's own BIOS Updater screenshot shows a B150-PLUS file of
16,779,264 bytes. That is 2,048 bytes more than 16 MB (16,777,216 bytes, the capacity of a 128 Mbit chip), so the
file is not a byte-for-byte chip image. Before writing any vendor file with a programmer, find out how to turn it into a chip image
for your board, and check the size every time. Otherwise, ASUS service is the remaining route.
Sources and further reading
- ASUS, How to use USB BIOS FlashBack? (BIOSRenamer, port, button, light behavior, ME notes)
- ASUS, ASUS EZ Flash 3 introduction
- ASUS, ASUS EZ Flash introduction (Intel 800-series and later, ZIP and CAP files)
- ASUS, Motherboard BIOS Update and Management (EZ Flash 2 and 3, CrashFree BIOS 3 on UEFI boards)
- ASUS, P5Q WS user manual (EZ Flash 2 and CrashFree BIOS 3 on an LGA 775 board)
Adding a CPU to an old BIOS? read the LGA 771 Xeon microcode guide.

Tessa covers BIOS images, microcode and firmware recovery. Her rule for every flash: two backups of the original image, a known recovery path, and nothing else running on that power strip.