Choosing a power supply for an older PC: wattage, rails and connectors
The power supply is the part of an old desktop people think about last, usually after it has already made a strange noise. That is backwards. Every other part depends on it, and a power supply from 2009 has spent its whole life cooking its own capacitors. Whether you are reviving a Core 2 machine with its original unit or fitting a new one, three questions decide the choice: how much power the build really needs, whether the plugs match the board, and whether the old unit is still trustworthy.
Add up the load
Start with the parts that draw the most and work down. Nobody needs a precise number; you need an honest ceiling.
The CPU figure is the TDP (thermal design power): the heat the cooler must remove at sustained load, which Intel publishes for every chip. It is a cooling number rather than a measured power draw, but for stock Core 2 and Xeon parts it is a fair planning figure. Overclocking pushes the real draw well past it, so add margin if you plan to raise the FSB as in our Xeon overclocking guide.
The graphics card figure comes from the maker's board power rating if you can find it. If you cannot, the connectors give you a ceiling. Under the PCI Express rules summarized on Wikipedia, an x16 graphics slot supplies up to 75 W, a 6-pin auxiliary plug adds 75 W and an 8-pin adds 150 W. A card with one 6-pin plug is therefore designed to stay under 150 W, and one with two 8-pin plugs under 375 W.
Drives and fans have their currents printed on the label. Multiply each rail's current by its voltage and add them up.
A worked example
Say you have a P45 board with a Core 2 Quad Q9550 (95 W TDP on Intel's spec page), a graphics card with a single 6-pin plug, one 3.5 inch hard drive, one SATA SSD and three case fans. The drive and fan labels below are hypothetical but typical in form:
| Part | How the figure is found | Watts |
|---|---|---|
| CPU | TDP from Intel | 95 |
| Graphics card | Slot 75 W + one 6-pin 75 W (ceiling) | 150 |
| Board, chipset, memory | A generous allowance, not a measured figure | 40 |
| 3.5 inch hard drive | Label: 5 V x 0.75 A + 12 V x 0.6 A = 3.75 + 7.2 | 11 |
| SATA SSD | Label: 5 V x 1.7 A | 8.5 |
| Three 120 mm fans | Label: 12 V x 0.15 A = 1.8 W each | 5.4 |
| Total | about 310 |
The board allowance is our own deliberately padded number for a desktop board with four memory sticks; it exists so the total errs high. The PSU wattage estimator in the Modkit runs this same kind of sum for you, and if the SSD is part of your plan, our SATA SSD upgrade guide covers the install.
Headroom and the efficiency curve
A power supply rated at 310 W would technically cover that build, but it would run flat out every time you play a game. A switching power supply is most efficient in the middle of its range, and the 80 PLUS program shows the shape clearly. These are the requirements CLEAResult publishes for 115 V internal, non-redundant units:
| 80 PLUS level | 10% load | 20% load | 50% load | 100% load |
|---|---|---|---|---|
| Standard | - | 80% | 80% | 80% |
| Bronze | - | 82% | 85% | 82% |
| Silver | - | 85% | 88% | 85% |
| Gold | - | 87% | 90% | 87% |
| Platinum | - | 90% | 92% | 89% |
| Titanium | 90% | 92% | 94% | 90% |
Every level peaks at half load. For the example build, a 550 W unit sits at about 56 percent under full load (310 / 550) and well below that at the desktop, which keeps it near the top of its curve with room for a later graphics upgrade. A 450 W unit lands at about 69 percent, which is also fine. Below 400 W you start living near the top of the range.
Efficiency is not only about the electric bill; it is heat inside the case. At 310 W of output, a unit running at 90 percent draws 310 / 0.90 = 344 W from the wall and turns 34 W into heat. One at 70 percent, the typical-load minimum in the ATX12V 2.0 era according to Wikipedia's ATX history, draws 443 W and sheds 133 W, all of it warming the parts you are trying to keep alive.
Read the badge for what it is. The 80 PLUS criteria are efficiency at set loads plus a power factor requirement. Nothing in that table measures voltage regulation, ripple or protection circuits, so a certified unit is not automatically a well-built one. Published reviews that load a unit and measure its ripple tell you far more than the sticker.
The 12 V rail: single or multi
Since the Pentium 4, the CPU has been fed from 12 V through the board's voltage regulator, and graphics cards draw almost entirely from 12 V too. In the example, roughly 95 + 145 + 7 + 5 = about 252 W lands on 12 V, which is 252 / 12 = 21 A. On the power supply's label, look for the combined 12 V rating in amps or watts, not just the big number on the box. A unit that says 550 W but allows only 360 W on 12 V is really a 5 V and 3.3 V heavy design from an older era.
The rail question comes from history. Wikipedia's power supply article explains that ATX12V 2.x design guides carried a 240 VA limit per output, taken from safety standards, which in practice meant 20 A per 12 V rail. Makers split 12 V into several current-limited rails to comply. ATX12V 2.3 (March 2007) removed that limit, and today's designs are either single rail, where any cable can draw the full current, or multi rail, where each group of cables has its own overcurrent limit.
Neither is wrong. On an older multi-rail unit with 18 A or 20 A rails, though, a hungry graphics card and the CPU sharing one rail can trip its protection under load, which looks like a random shutdown. The label or manual shows which plugs belong to which rail; put the graphics card on its own.
Connectors an older board needs
| Connector | Where you meet it | Notes |
|---|---|---|
| 20-pin main | Boards before ATX12V 2.0 | A 20+4 plug splits; leave the 4-pin part unplugged |
| 24-pin main | Most Core 2 era boards | The extra four pins add a 3.3 V, 5 V and 12 V circuit |
| 4-pin 12 V (P4) | Most LGA 775 boards | Half of a 4+4 EPS plug fits |
| 8-pin EPS12V | Higher-end boards, Xeon boards | Fill all eight pins if the socket has them |
| PCIe 6-pin / 8-pin (6+2) | Graphics cards | 75 W and 150 W respectively |
| 4-pin peripheral (Molex) | Old drives, fans, some boards' extra power | Count them on a modern unit |
| Floppy (Berg) | Floppy drives, some internal card readers | Missing on many current units |
Do not force the wrong 8-pin plug. An 8-pin PCIe plug and an 8-pin EPS plug look alike but have 12 V and ground in swapped positions, and Wikipedia's PSU article warns that mixing them up causes a short circuit. Keyed shells should stop you; a strong push will not.
If your build is older than the Pentium 4 era, check the 5 V rating too. Wikipedia's ATX history notes that earlier processors were generally powered from the 5 V rail, and modern units put almost everything on 12 V.
Modern ATX 3.x units on old boards
A current ATX 3.0 or 3.1 power supply, the kind with a 16-pin 12VHPWR or 12V-2x6 graphics plug, works on a Core 2 board. The new plug just stays in the bag. Intel's ATX 3.0 design guide still lists the main power connector and SATA connectors as required and keeps sections for peripheral and PCIe plugs, so the legacy connectors are there. What changes is the count. Current units often carry fewer Molex plugs than an old build expects, and Intel's guide marks the floppy connector "Do Not Include (For Historical Reference Only)." If your machine has a floppy drive or several Molex devices, count before you buy, or plan for adapters.
Why a 15-year-old power supply is a gamble
The parts that age inside a power supply are its aluminium electrolytic capacitors. Their liquid electrolyte slowly evaporates, and as it does, capacitance falls and internal resistance (ESR) rises, so the supply filters ripple less well and rides through brief dips less reliably. Wikipedia's electrolytic capacitor article gives the rule of thumb: lifetime roughly doubles for every 10 °C cooler the capacitor runs, which also means it halves for every 10 °C hotter. A unit that spent a decade in a dusty case with a tired fan has used up a lot of its life.
Units from roughly 1999 to 2007 carry an extra risk. The capacitor plague of those years, caused by faulty electrolyte from some makers, hit motherboards, graphics cards and power supplies especially hard. If you are reviving a machine from that window, assume the original power supply is suspect until a test says otherwise. Even then, a good test today says nothing about next month.
Warning signs that mean retire it now: a burnt smell, a fan that rattles or does not spin, visible bulging on any capacitor you can see through the grille, buzzing or clicking under load, or random reboots that stop when you swap in another unit.
Testing a power supply
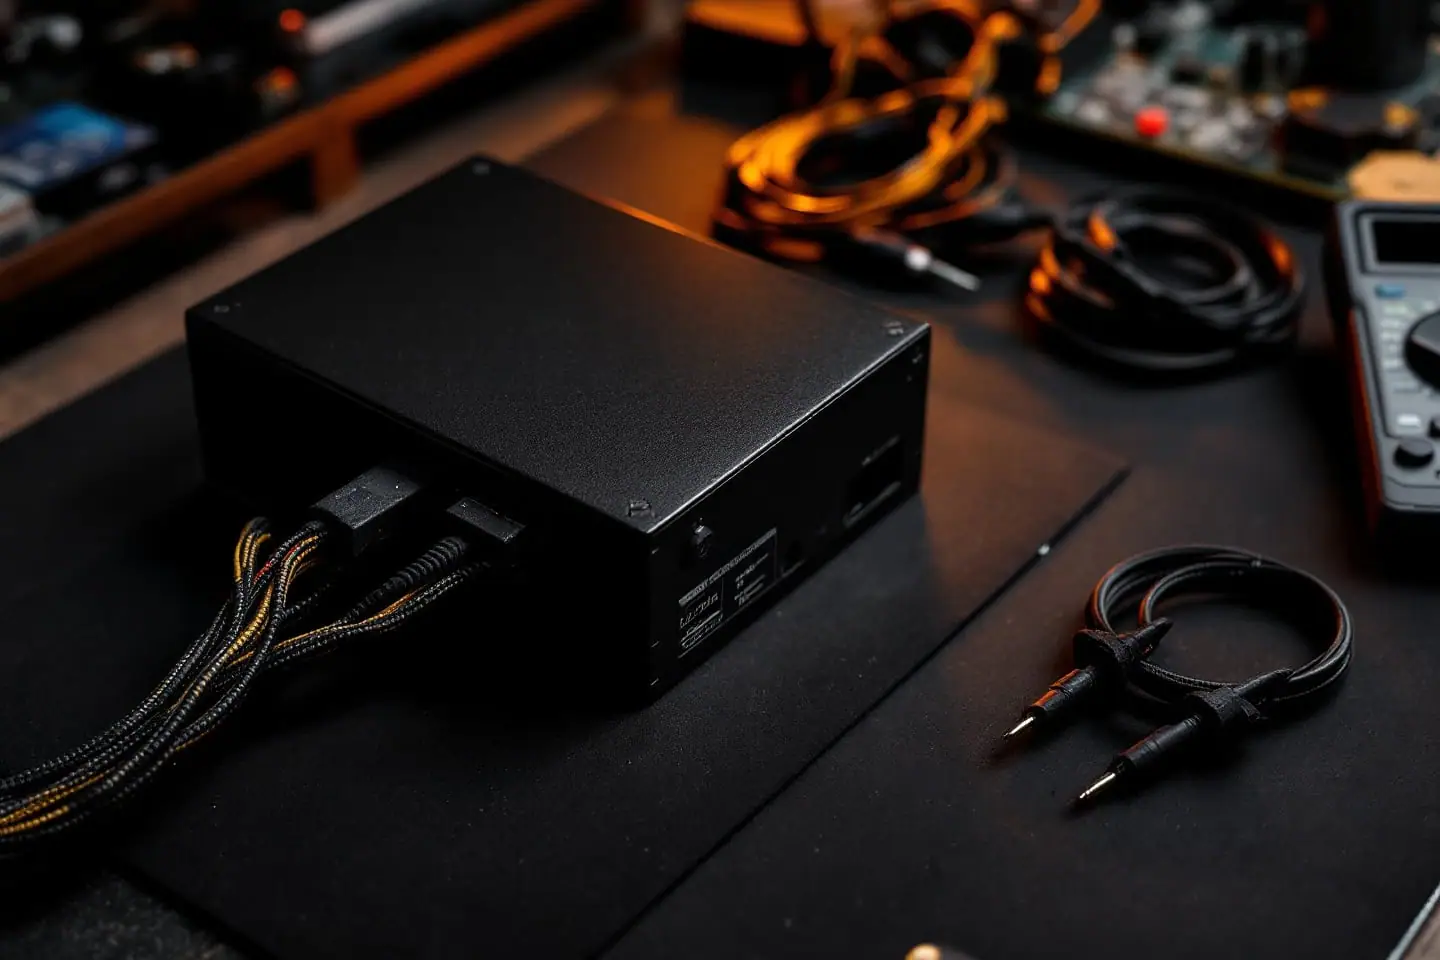
An ATX power supply tester is the quick check. Plug in the main connector (and the CPU, PCIe and drive plugs the tester accepts), switch on, and it shows each rail's voltage and, on most models, whether the power good signal arrives. Compare against the tolerances in the ATX design guides, summarized on Wikipedia:
| Rail | Wire color | Allowed range |
|---|---|---|
| +12 V | Yellow | 11.40 to 12.60 V (5 percent) |
| +5 V | Red | 4.75 to 5.25 V (5 percent) |
| +3.3 V | Orange | 3.135 to 3.465 V (5 percent) |
| +5 V standby | Purple | 4.75 to 5.25 V (5 percent) |
| -12 V | Blue | -10.80 to -13.20 V (10 percent) |
The catch is load. A tester draws almost nothing, and the ATX specification does not define how a supply behaves without a minimum load, so a marginal unit can pass on a tester and sag in the PC. For a better reading, leave the supply installed, boot the machine, start something demanding and back-probe the main connector with a multimeter set to DC volts: black probe on a black ground wire, red probe slid alongside the yellow, red and orange wires in turn. A 12 V reading that drifts toward the bottom of its range under load points to a tired supply even if it never shuts down.
These suggestions come from specifications and published reviews rather than hands-on testing of our own. For a replacement, look for a full set of protections listed on the spec sheet and a 12 V rating close to the unit's total, and treat the 80 PLUS badge as a bonus rather than the reason to buy.
If you are about to fit a modded LGA 771 Xeon from the 771 to 775 guide, check its TDP in our database before you settle on a supply. An X5460 carries a higher TDP rating than the E and L parts, and that difference goes straight into the first line of your table.
Sources and further reading
- CLEAResult: 80 PLUS PSU ratings explained and program overview
- Intel: ATX Version 3.0 Multi Rail Desktop Platform Power Supply Design Guide (connector requirements)
- Intel ARK: Core 2 Quad Q9550 specifications (archived copy)
- Wikipedia: ATX (revision history, voltage tolerances, PS_ON and power good signals)
- Wikipedia: Power supply unit (computer) (rails, connectors, testing)
- Wikipedia: PCI Express (slot and auxiliary connector power)
- Wikipedia: Electrolytic capacitor and Capacitor plague

Priya writes about builds and upgrades: power supplies, storage, memory and the order to do things in. She has a soft spot for reviving family PCs and a firm view that the cheapest upgrade is the one you can return.