Repasting a CPU step by step, from cleanup to the first temperature check
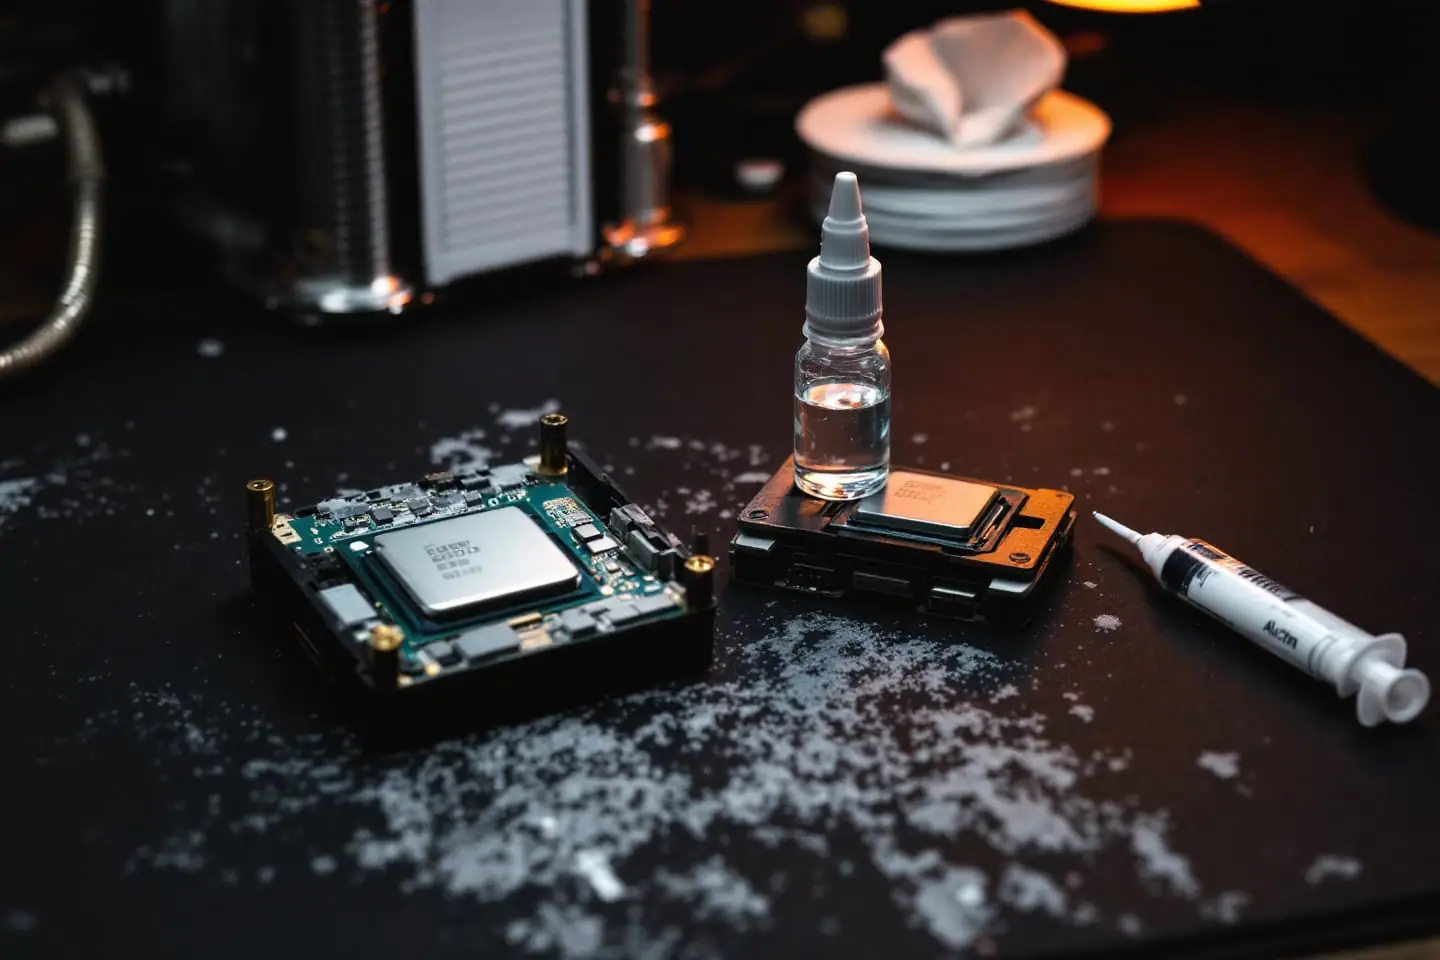
Thermal paste fills the microscopic gaps between a processor's heat spreader and the base of its cooler. It is the humblest part of the cooling path and one of the easiest to get wrong. Done well, repasting takes half an hour and brings an old machine back to its original temperatures. Done badly, it leaves the chip hotter than before, or bends something on the way.
This guide follows the job in order, from deciding whether to do it at all to the temperature check that tells you it worked.
When repasting helps, and when it does not
Good reasons to do it:
- You removed the cooler for any reason. Intel's own guidance is to clean off the old paste and apply fresh paste every time the cooler comes off, because reused paste traps air.
- Temperatures have crept up under the same load at the same room temperature, and the heatsink fins are already clean.
- You are reviving an older PC whose paste has sat for years. A tired Core 2 machine is a typical example (our notes on what a Core 2 Quad PC is still good for cover the rest of that job).
Reasons that are not enough on their own: a single hot reading during a game, a fan that is louder than you remember (check for dust first), or a new paste that promises a few degrees. Thermal Grizzly's own FAQ says there is no universal replacement interval and suggests replacing paste when temperatures show a confirmed rise or the cooler has been removed. Intel suggests no more than every few years. Both are saying the same thing: measure first.
Take a baseline before you touch anything
You need numbers from before, or you cannot tell whether the work helped. Run the same test before and after:
- Let the PC idle on the desktop for 10 minutes and note the CPU package temperature.
- Run a steady all-core load for 10 minutes (Cinebench in a loop, or a stress tool) and note the peak and the settled value.
- Note the room temperature and the CPU clock speed under load.
On Windows, a monitoring tool such as HWiNFO in its sensors-only mode shows package temperature, per-core temperatures, clocks and power. On Linux, lm-sensors and stress-ng do the same job (--cpu 0 starts one worker per processor):
sudo apt install lm-sensors stress-ng
sudo sensors-detect --auto
stress-ng --cpu 0 --timeout 600s &
watch -n 2 sensors
Write down the temperature minus the room temperature, not just the raw figure. A chip at 72 °C in a 24 °C room is running 48 degrees over ambient. If the next day is cooler, 68 °C in a 20 °C room is the same result, not an improvement.
What you need
- 99 percent isopropyl alcohol (the 70 percent kind leaves water behind)
- Lint-free wipes or coffee filters; cotton balls shed fibers
- A non-conductive thermal paste
- A screwdriver that fits the cooler screws properly, plus a small one for laptops
- A plastic card or spudger for laptop clips and pads
The parts listed here are chosen from makers' specifications and published reviews; we have not tested them hands-on.
Step by step on a desktop
- Warm it up. Run the load test for a few minutes just before shutting down. Warm paste is softer and lets go of the cooler more easily.
- Power down and unplug. Switch off the power supply, pull the cord and press the power button once to drain the capacitors. Ground yourself.
- Loosen the cooler evenly. Undo the screws a couple of turns each in a cross pattern (top left, bottom right, top right, bottom left) rather than one screw all the way out, so the bracket does not tilt and lever against one corner.
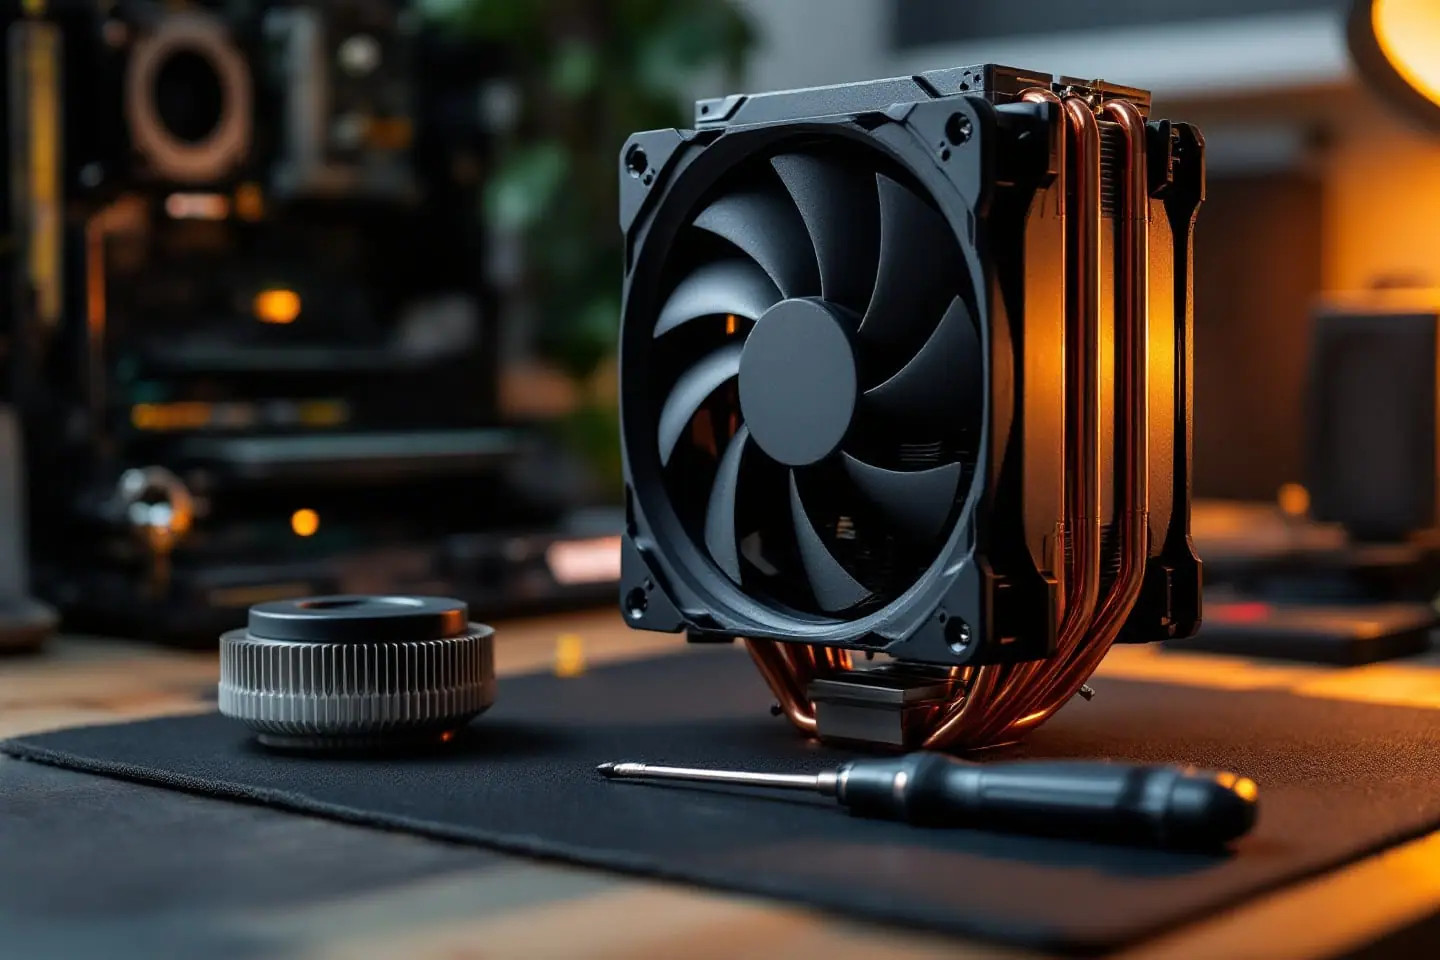
- Twist, do not pull. With the screws free, rotate the cooler a few degrees left and right until it turns freely, then lift it straight up. On pin-grid chips, which includes most AMD desktop CPUs before AM5, pulling straight up can bring the CPU out of the socket still stuck to the cooler.
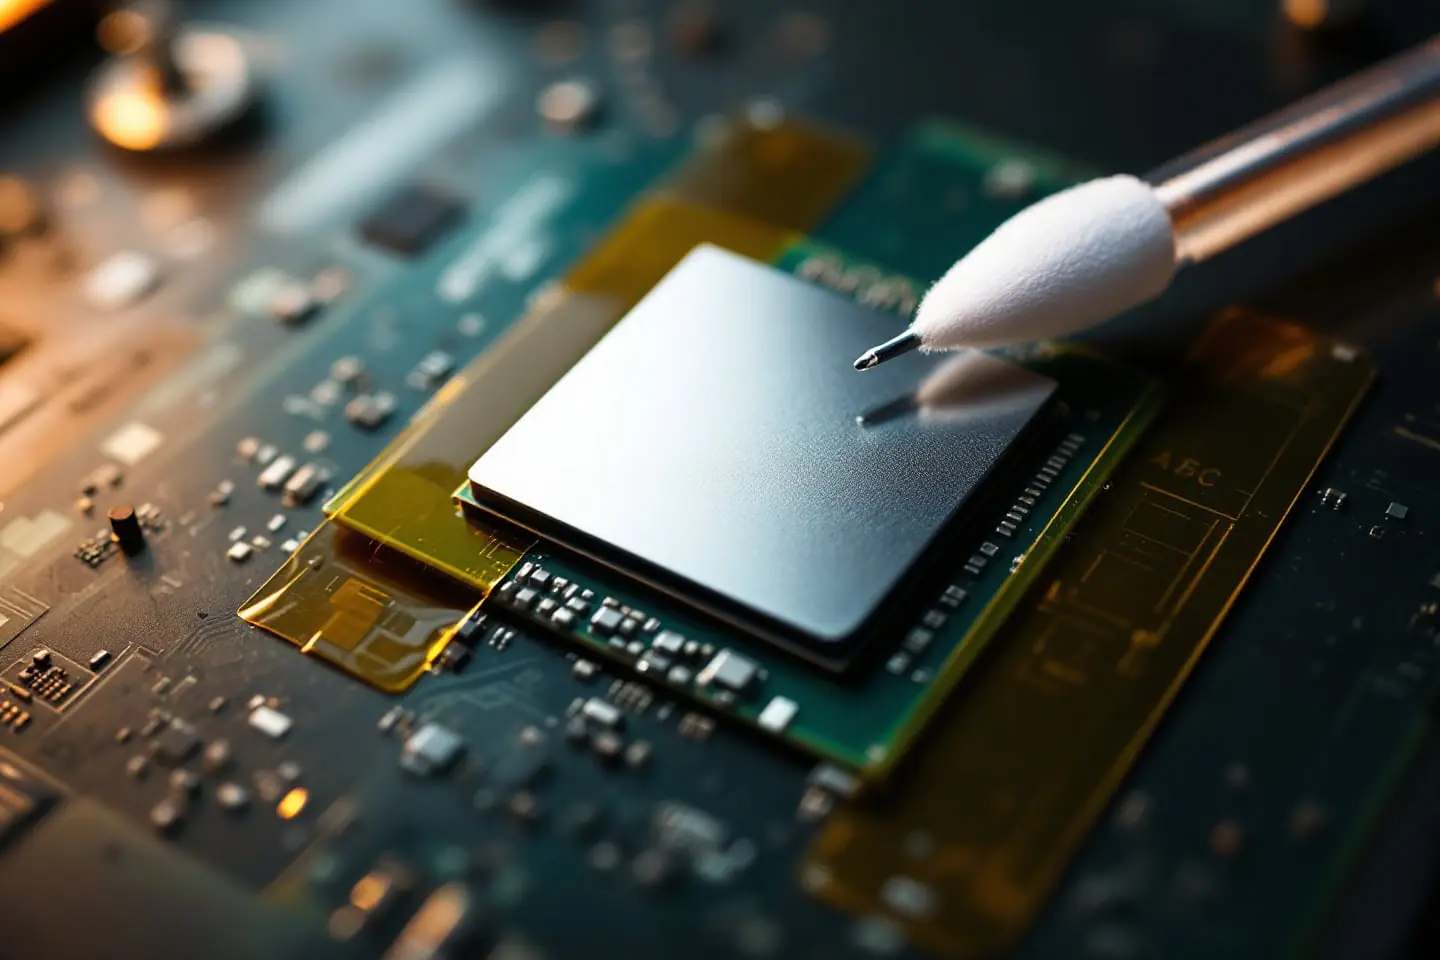
- Wipe the bulk off. Use a dry wipe first to lift most of the old paste from the heat spreader and the cooler base. Wipe toward the center so paste does not get pushed over the edge into the socket.
- Clean with alcohol. Dampen a fresh wipe with isopropyl alcohol and clean both surfaces until a wipe comes away clean. Let everything dry for a minute.
- Apply new paste. See the next section for amount and pattern.
- Seat the cooler straight down. Lower it onto the chip without sliding it around, which would smear the paste and trap air.
- Tighten in a cross pattern. Start all screws by hand, then tighten each a few turns at a time in the same diagonal order until they stop. Many coolers use shouldered screws that bottom out at the right pressure. Do not force them past that.
- Reconnect the fan to the CPU fan header before you close the case.
How much paste, and which pattern
Intel's guidance is simple: a dot about the size of a grain of rice or a pea in the center of the heat spreader, then let the cooler's pressure spread it. Too little leaves bare patches; too much squeezes out over the edges and can end up on the board.
The pattern matters less than people argue about. In 2012 Puget Systems compared twelve patterns, first under a clear acrylic plate to see how each one spread and then under a real cooler at full load: a single dot, a double dot, lines, an X, a spread layer, a spiral and even a smiley face. The X gave the best coverage and the lowest temperature at 54.25 °C. The smooth spread was a quarter of a degree behind, and the single rice-sized dot half a degree behind, tied with the smiley face. The two overloaded methods, a double-size dot and a thick line, did worst. Cover the surface, do not overdo it, and stop worrying about the shape.
A rough guide by chip shape:
| Heat spreader shape | Pattern that tends to cover it | Notes |
|---|---|---|
| Small and square (Core 2, LGA 1155, AM4) | One pea-sized dot | Let the cooler spread it |
| Long rectangle (LGA 1700 and similar) | A line along the long axis or a thin X | A single dot may not reach the ends |
| Very large (HEDT and server chips) | An X extended to the corners | Puget noted the X works on larger chips with a slightly thicker line |
Some pastes, such as Arctic's MX-6, are thick enough that the maker says not to spread them with a spatula at all, only with the cooler's pressure. Follow the instructions on the tube.
First boot: the temperature check
Boot to the desktop and watch the idle temperature for a few minutes. It should settle at or below where it was before. A reading that keeps climbing at idle, or races toward the chip's temperature limit within seconds of a load, means poor contact: shut down and check that the cooler is seated and the screws are even.
Then repeat your baseline load test, same length and same room temperature, and compare the over-ambient figures. Watch the clocks as well. Thermal Grizzly points out that a modern CPU may turn better contact into higher boost clocks rather than lower temperatures, so a similar temperature at a higher sustained clock is still a win.
If one group of cores runs much hotter than the rest, the cooler is probably tilted. Remount it with more care to the cross pattern. If your build involved a socket mod as well, the first-boot checks on page 4 of the LGA 771 to 775 guide are worth running too.
Laptops are a different job
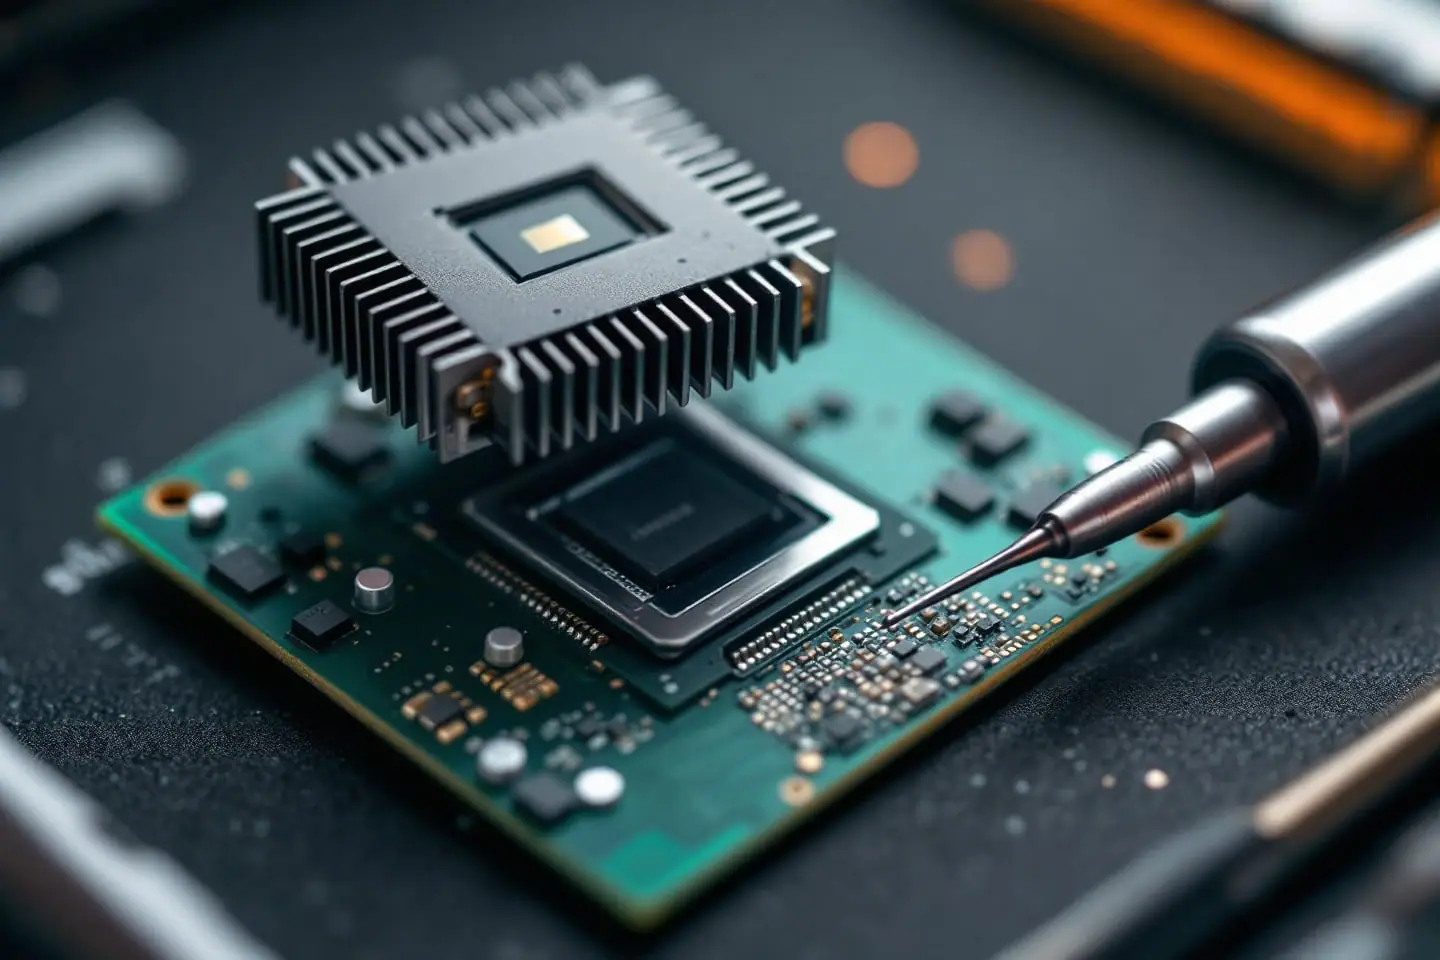
A laptop heatsink usually touches a bare die (no heat spreader) and also presses on thermal pads that cool the memory chips and voltage regulators. The pads are what catch people out.
- Photograph the heatsink and pads before you remove anything. Pads of different thickness sit on different chips.
- Never swap pad thicknesses. A pad that is too thick holds the heatsink off the die and the CPU overheats; one that is too thin leaves the chip under it uncooled. If a pad tears, replace it with one of the same thickness, measured with calipers on an intact piece.
- Intact, soft pads can often go back where they came from; torn, hardened or crumbling ones need replacing.
- Paste goes on the die only, as a thin layer covering the whole surface; Thermal Grizzly notes that gaps around memory and regulators need pads or putty, not paste.
- Laptop heatsinks often have numbers stamped beside the screws. Loosen in reverse order and tighten in numbered order, a little at a time, to keep pressure on a bare die even.
Mistakes that undo the work
- Leaving the protective plastic film on the base of a new cooler. It is clear, thin and easy to miss.
- Using so much paste that it spills over the heat spreader edge.
- Reusing old paste after the cooler has been lifted, even for a moment.
- Cleaning with low-percentage alcohol or a wipe that sheds fibers.
- Overtightening one screw before the others are started.
- Plugging the fan into a case header that the BIOS does not ramp with CPU temperature.
- Using liquid metal as an everyday paste; our liquid metal vs paste comparison explains why that is a different job, and delidding is a different job again.
Once the new numbers are written down next to the old ones, keep that note with the PC. The next time temperatures creep up, you will know whether the paste is the problem or the dust is.
Sources and further reading
- Intel, How to Apply Thermal Paste and How It Works (amount, letting pressure spread it, diagonal screw sequence, reapplying after removal)
- Puget Systems, Thermal Paste Application Techniques (Matt Bach, November 12, 2012)
- Thermal Grizzly, Kryonaut product page and FAQ (replacement interval, pump-out, boost clocks, laptop dies and pads)
- Arctic, MX-6 product page (application by cooler pressure)
- The lm-sensors project, GitHub repository, and stress-ng, GitHub repository and manual (Linux monitoring and load tools)

Devin handles cooling: thermal paste, pads, delidding and liquid metal. He explains where the heat goes in plain numbers and is suspicious of any cooler box that prints a wattage without saying how it was measured.